
To manage cancellations, you’ll first need to connect your Stripe account to Juttu.
This lets Juttu trigger key subscription actions (like pausing, discounting, and canceling) directly through the Stripe API.
In this guide, you’ll:
- Connect your Stripe account (test and live)
- Get ready for testing your cancel flow in the test environment
💡 Note: You can run the entire cancel flow in Test mode without integrating the SDK or your frontend yet.
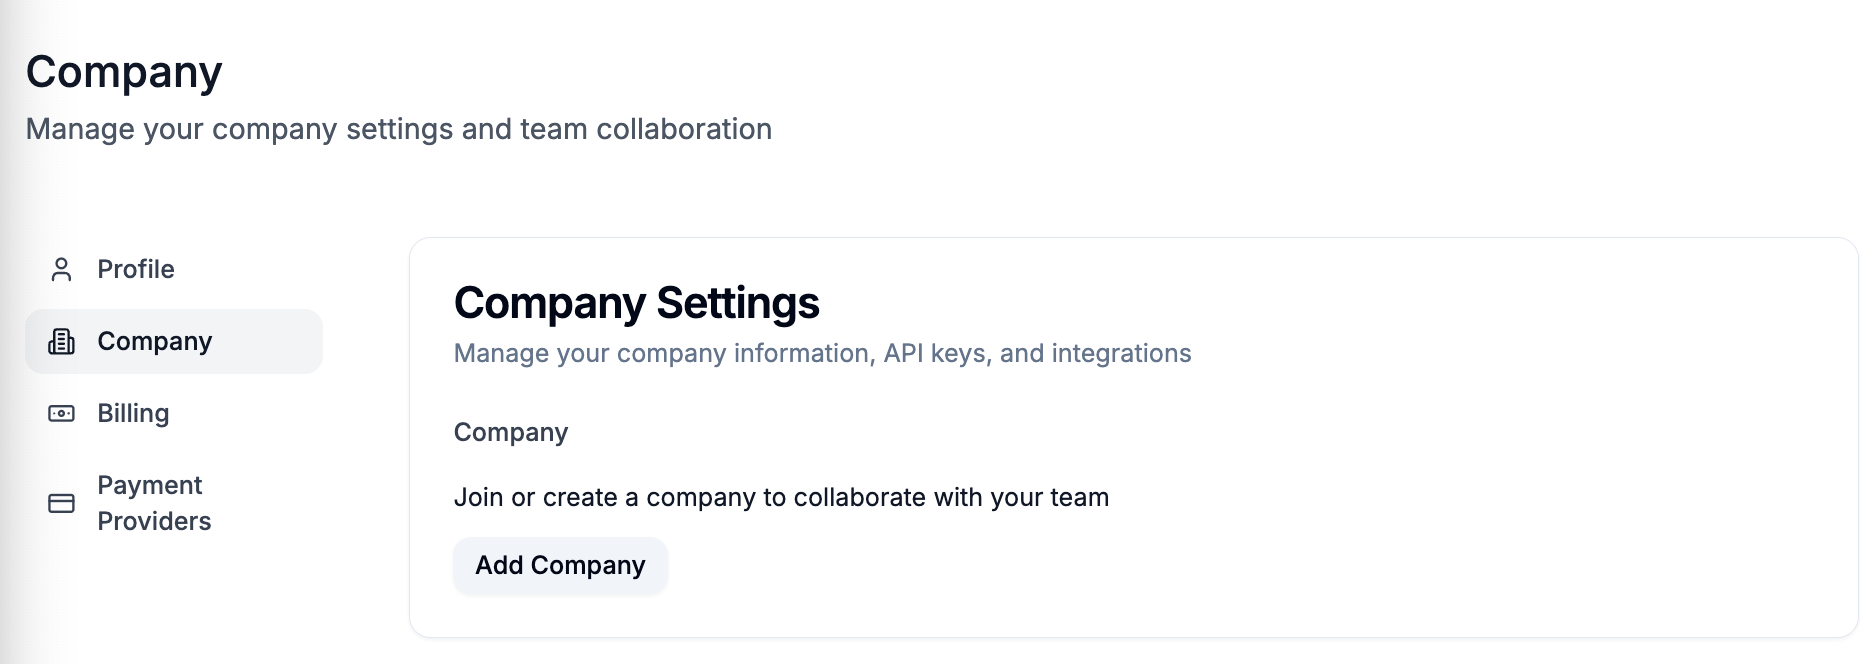
0. Create your company
In case you didn't do it yet, go to Juttu → Settings → Company → Add company. Then, generate the Juttu API key.
(if someone from your team already created a company, ask them to invite you).
1. Connect Stripe
- On Stripe, go to your account and authenticate yourself.
- On Juttu, go to Settings → Payment providers

- Click Connect

- For Test mode, click on "Skip this form" (you're already authenticated)
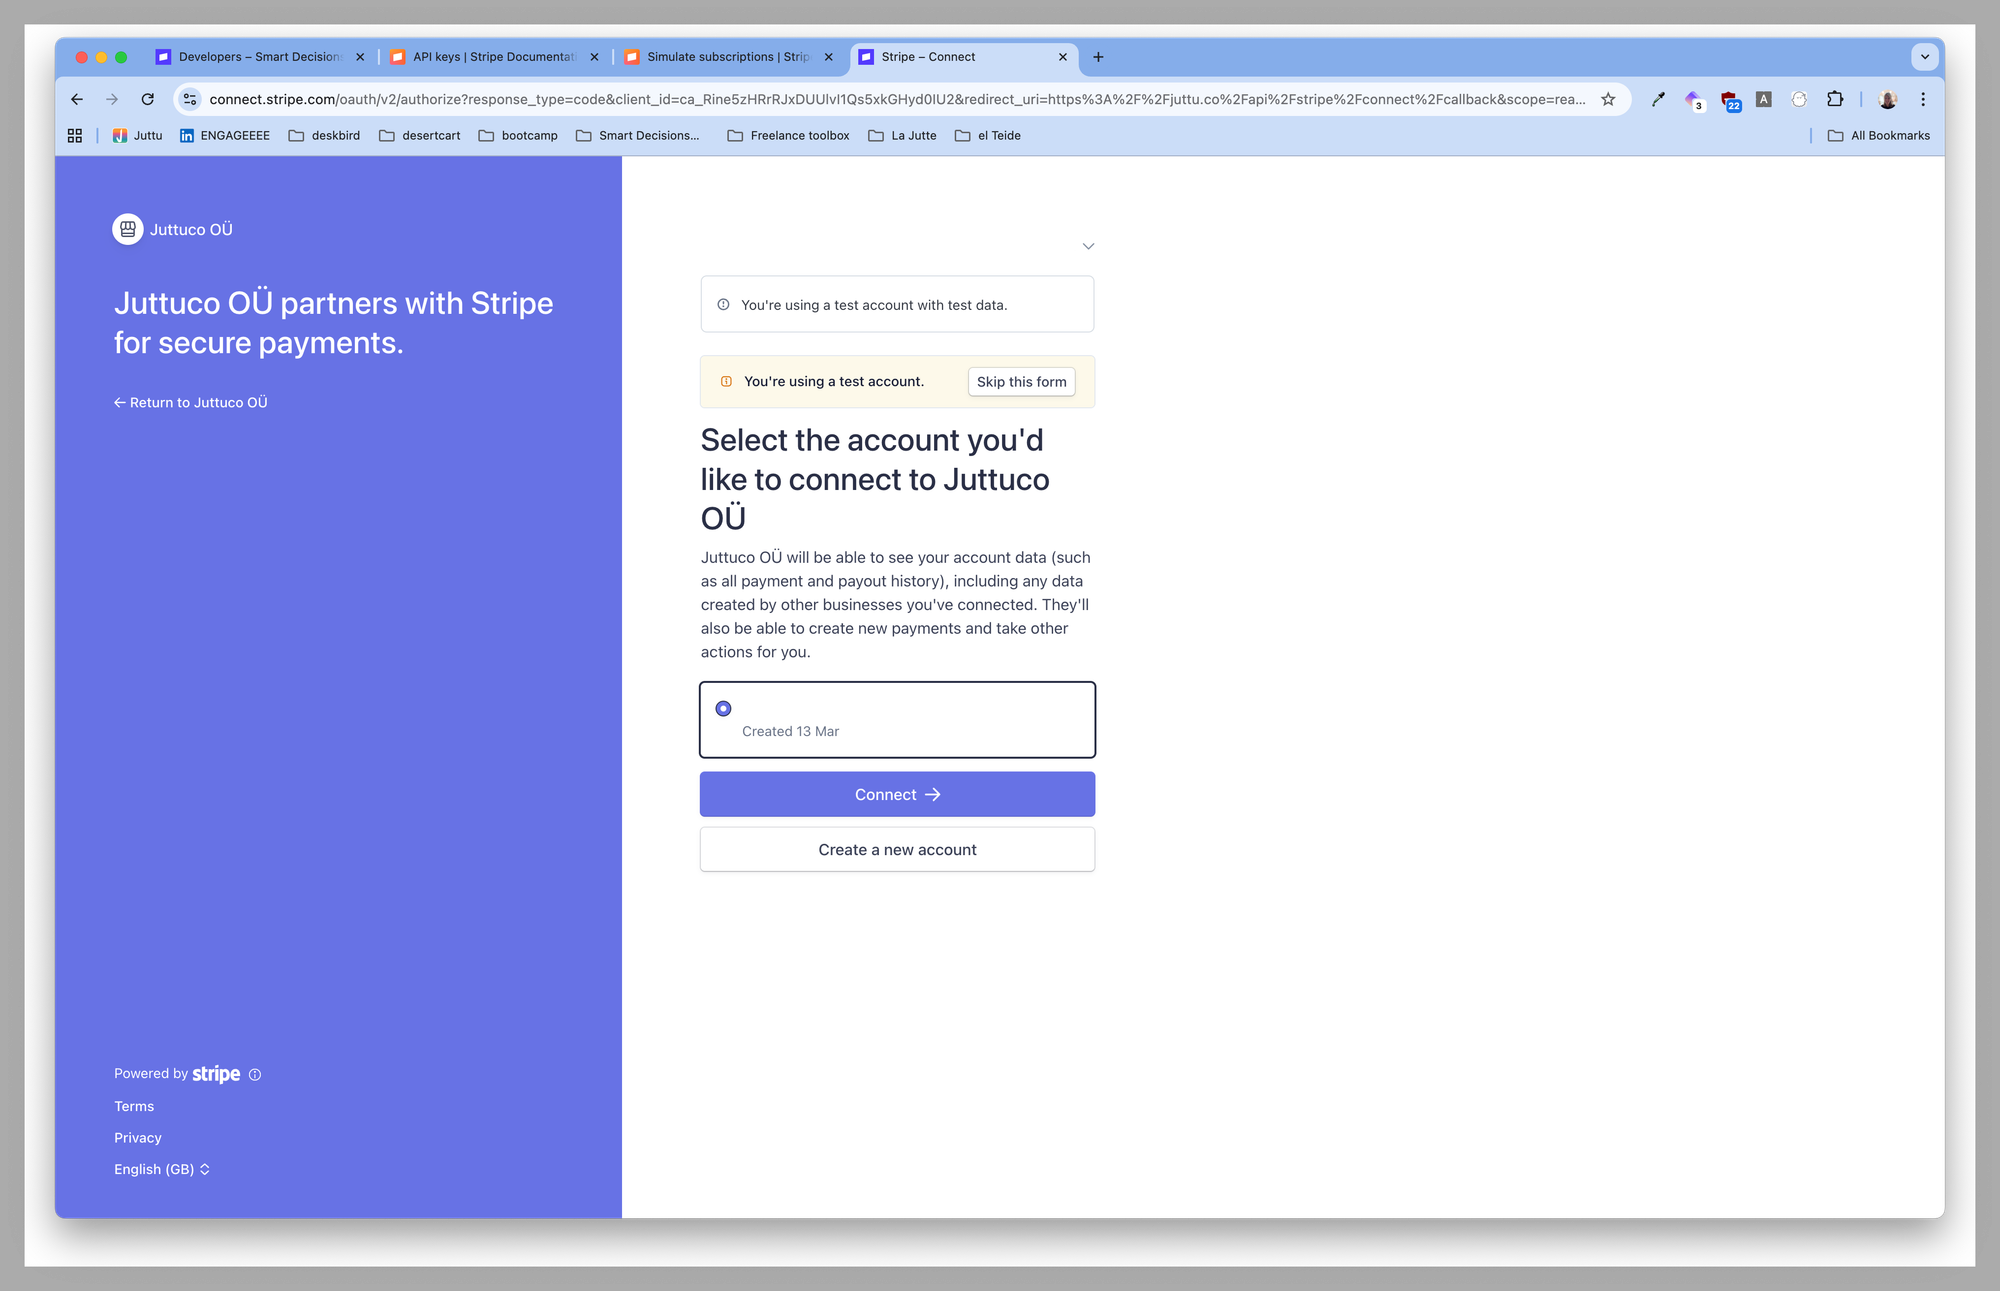
- For Live mode, click "Connect" (you're also already authenticated, if not, go through the authentication)
- You'll be redirected to your Juttu account.
✅ Result: Your Stripe account (test and live) is now connected to Juttu.
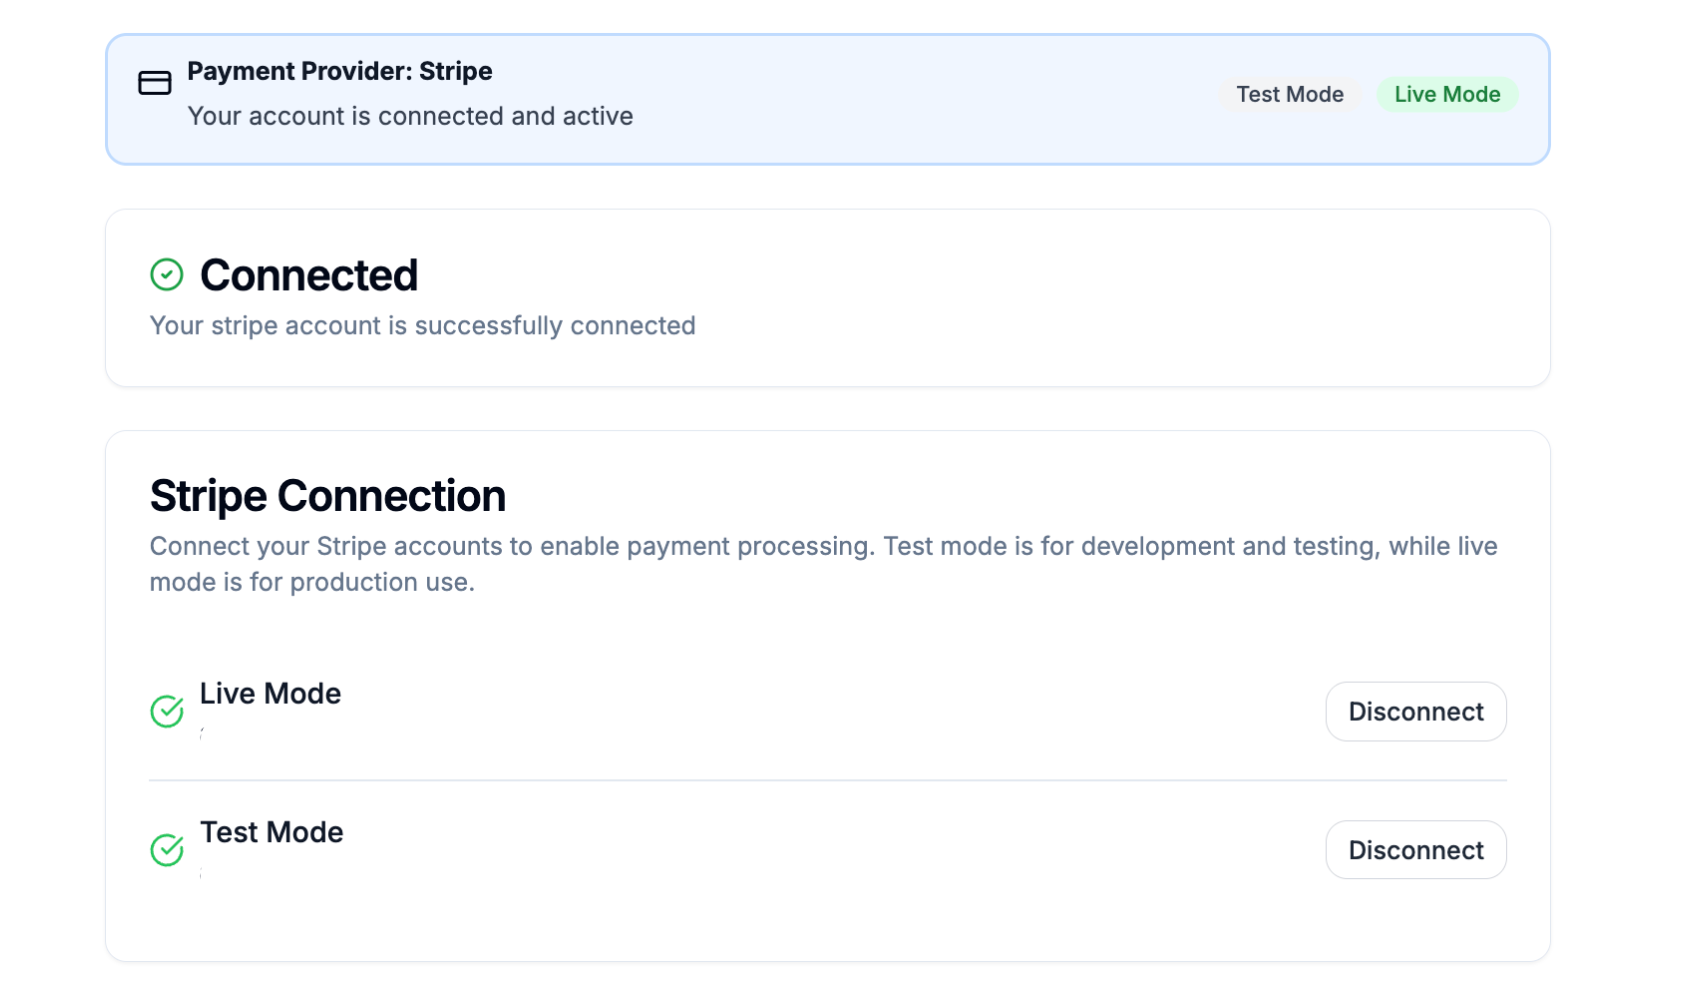
2. Set up the test environment
- In Juttu, toggle the environment to “Test.”
- This allows you to try out the cancel flow in Stripe’s test environment, without SDK or frontend setup.

✅ Result: Juttu and Stripe are connected, and your workspace is ready for testing.
What's the next step?
Now that your Stripe account is connected and Test mode is active, it’s time to try the cancel flow yourself. Just like a real customer would.
You can now:
- Run through the cancel flow in Stripe Test mode directly from Juttu.
- Use a test customer and subscription to simulate real scenarios (see how to create those here).
- Try different actions: cancel, pause, or apply a discount.
- Verify the result in your Stripe dashboard to confirm the action was applied.
Once you’re happy with the test results:
- Switch the environment to Live.
- Hand the SDK to your developer for full integration on your frontend.